Practical De-hazing
If you ever go to a zoo, aquarium or any place that has you viewing animals behind plexiglass, then the new De-haze feature in Lightroom is perfect for you. I went out to Busch Gardens to shoot the animals… (fill in your own joke…) and just about every animal was behind the wonderful thick glass that a million kids and parents had made even better by smearing it with their handprints and other body parts. Most of the time the key is to try to find the cleanest/clearest sections, but I decided to see how good a job Lightroom can do with the dehazing. I took some shots through the worst glass I could find to see how far Lightroom could go in making me look better than I am.
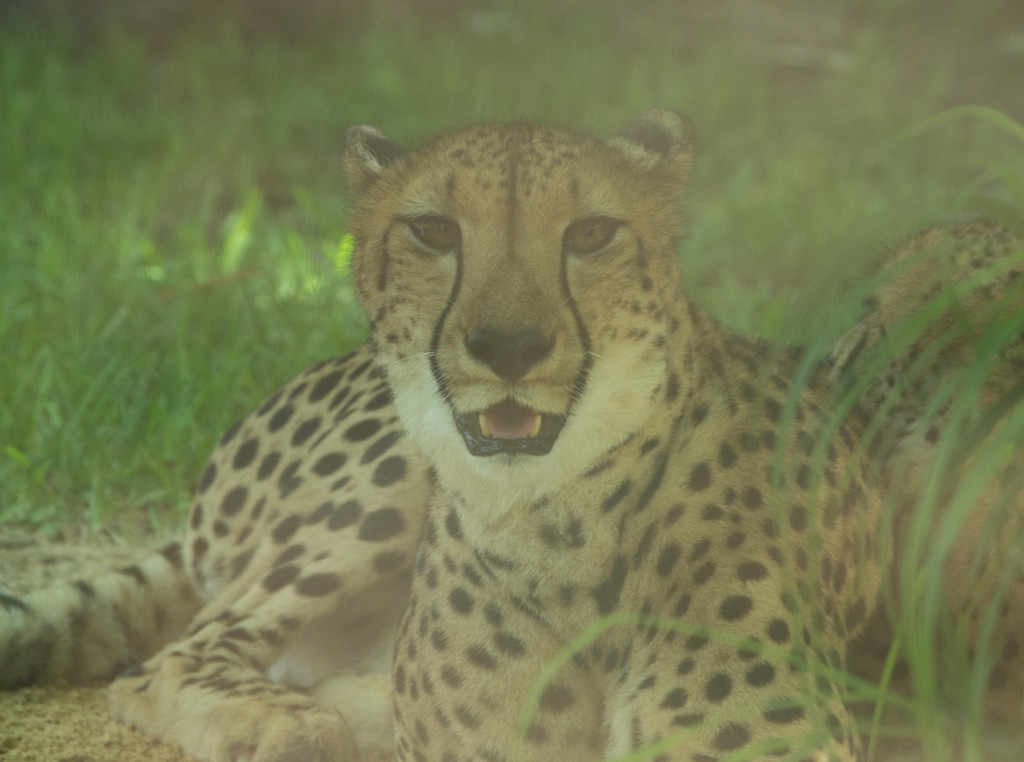
Here is a shot I took through some of the crudiest section of the glass. This is untouched except for slight cropping. (Not a great picture, but great test shot.)

Straight out of camera…Major crud and haze from glass. I shall call her Maddie Haze (Cybill Shepherd Moonlighting reference :D)
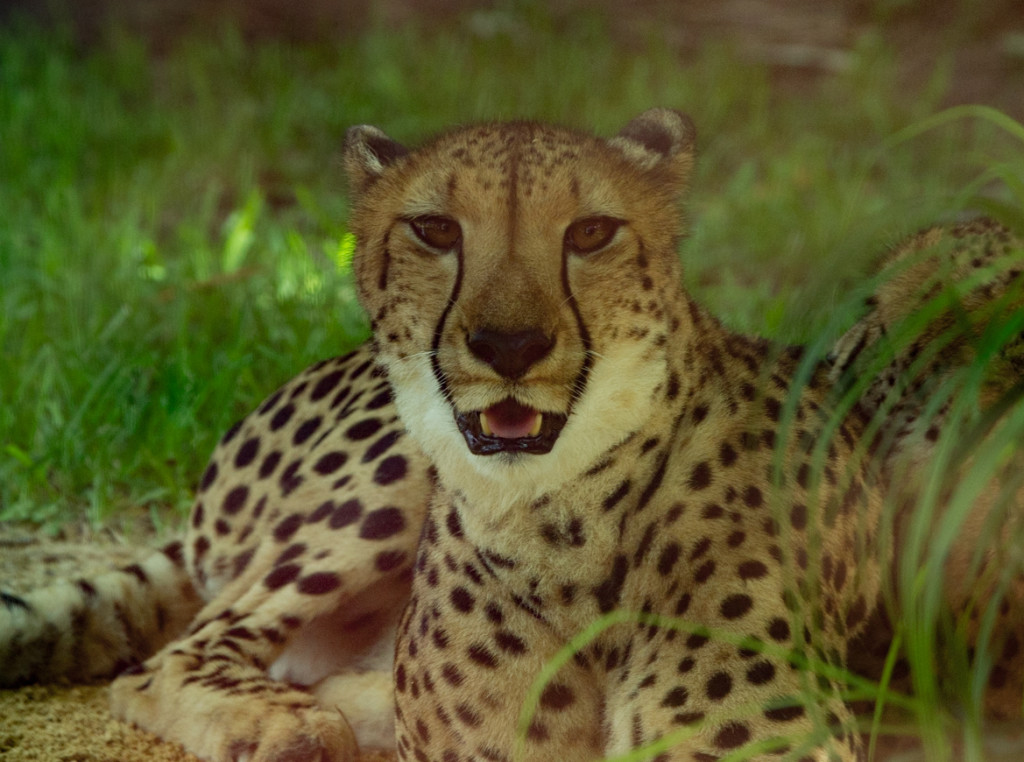
Here is the result after doing nothing but cranking the Dehaze slider all the way to 100.
To be honest, I thought it would do an ok job, but I was pretty impressed with the results. If nothing else it will help me from being that grumpy old guy with a camera at the Zoo telling the kids to stop smearing the glass :D. So here is the deal… I am sure you have some vacation photos of the zoo etc… siting on your harddrive. Why not pull them out and see if Lightroom can give them new life and maybe even inspire you to go out and shot some more animals yourself. (Yes I know I should say photograph animals… but I am a 12 year old boy trapped in a grown ups body and I still giggle at my own jokes.)


I’ve got you all beat. You know when your windshield is all fogged over or frosted up. What I do is set the camera on the dash and then tether my camera into LR. Then use the dehaze to see where I’m going! No more having to let the car warm up!
Did dehazing come with your upgrade to LR6? I have upgraded and updated and do not have a dehazing tool. According to the LR forums it will not be available until LR7 (https://forums.adobe.com/thread/1926682)…
Ah, I worked it out, you had to buy LR CC.2015, not LR6. Doh!
Yes, only available in CC but Prolost has a free preset that does exactly the same thing. http://prolost.com/blog/dehaze
No affiliation with Prolost, just love this preset since I prefer to use LR6.
Pete, not only does DeHaze work when you shoot through glass, but when you shoot through a chain link fence, like I have to do at the Oakland Zoo to get some of my Tiger shots, even focusing on the tiger still leaves the slightest hint of the fence. DeHaze really help get rid of that too.
All of the tiger shots I have on 500px were shot through a chain link fence.
https://500px.com/StevenGotz
Works wonders on aquarium photos also!! Thanks for the tip!
The dehaze filter lightens your camera bag too. You don’t have to carry around a bottle of windex!
I had similar good results with photographs taken through the window of a light aircraft, there was the haze from the window and then a haze from the poor weather, DeHaze dealt with them both admirably.