
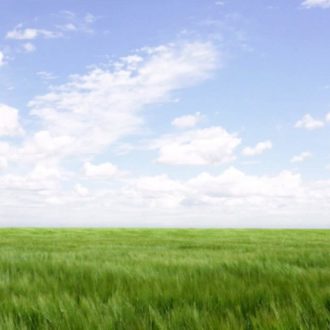
Editing a “Neutral Density Gradient” With a Brush (and when you might need to do this)
Happy Tuesday, yall. Benjamin Warde has a great Tuesday Lightroom Coffee Break tutorial (in less than 60-seconds) which shows when and why you might need to use the brush feature when adding a linear gradient to your image. Here goes:
Thanks, Benjamin — that’s a handy one to know (I’ve used that technique dozens of times since they added it to Lightroom). That’s something you can’t do even with the real glass version of the filter for your lens. 🙂
Hope you find that helpful, and we’ll catch you back here tomorrow for a very clever Do-it-yourself money-saving hardware trick.
Best,
-Scott
P.S. The folks at DIY Photography did an interview and behind-the-scenes tour of the KelbyOne Headquarters – here’s the link if you’ve got a sec. 🙂

[…] post Editing a “Neutral Density Gradient” With a Brush (and when you might need to do this) appeared first on Lightroom Killer […]
I’m surprised he didn’t mention the keyboard shortcut O for toggling the visibility of the mask on and off so you can see what you are erasing. You can also change the color of the mask with Shift-O through 4 different modes, but only 2 of them, green and red are useful.
This is great to know…I wonder if it’s available in LR5?
[…] post Editing a “Neutral Density Gradient” With a Brush (and when you might need to do this) appeared first on Lightroom Killer […]
[…] Source link […]